If you do three things before the first cold snap, do these: change the filter, clear everything away from the outdoor unit, and run the heat for twenty minutes on a mild day to find out whether it works before you need it. Everything else on this list is worth doing, but those three take under an hour, cost almost nothing, and catch most of the problems that turn into a cold house in January.
Heating season here is short and strange. Our systems sit unused from April to November, then get asked to work hard on a few dozen mornings. Equipment that has been idle for seven months does not always wake up gracefully, which is why the first genuinely cold week of the year is the busiest week we have.
What you can do yourself
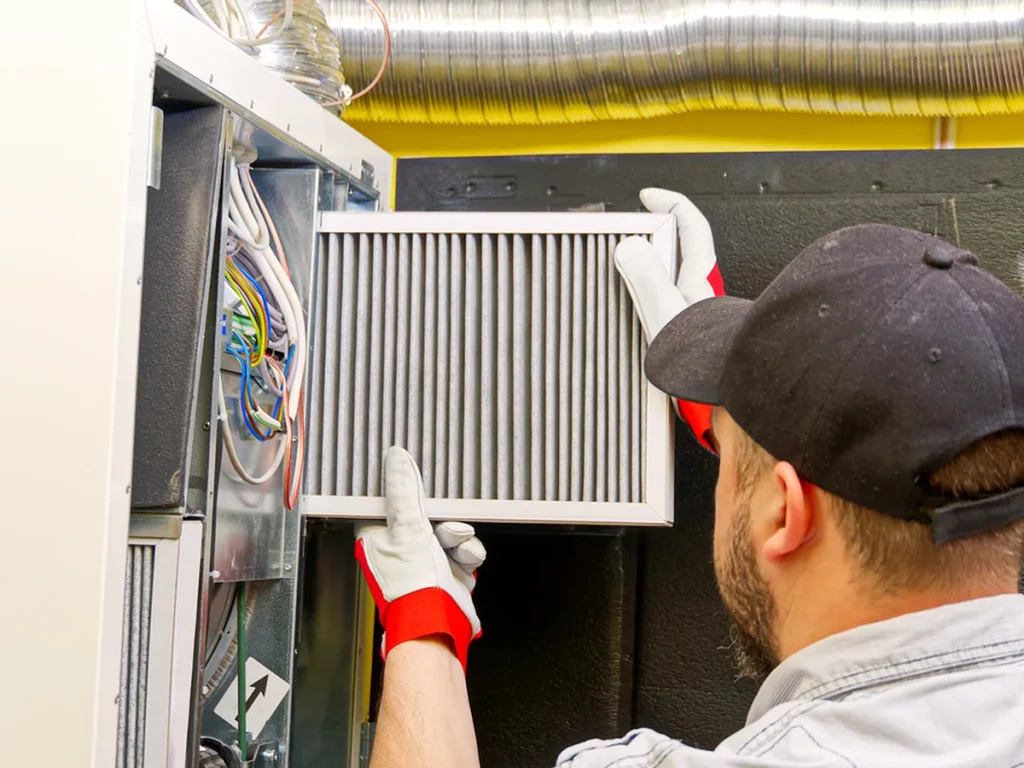
1. Change the filter
Start here because it affects everything else. A restricted filter cuts airflow, raises run times, pushes a heat pump toward its expensive backup heat strips, and can trip a safety limit that looks like a total failure.
In a Lowcountry house, a one-inch filter rarely lasts the three months the box claims. With pets, with construction nearby, or after a heavy pollen spring, six to eight weeks is more realistic. Write the date on the frame in marker when you install it.
Resist the urge to buy the densest filter on the shelf. A very high MERV filter in a system not designed for it starves the blower. If you want better filtration, the answer is a properly sized filter cabinet, not a thicker panel jammed into the existing slot.
2. Clear the outdoor unit
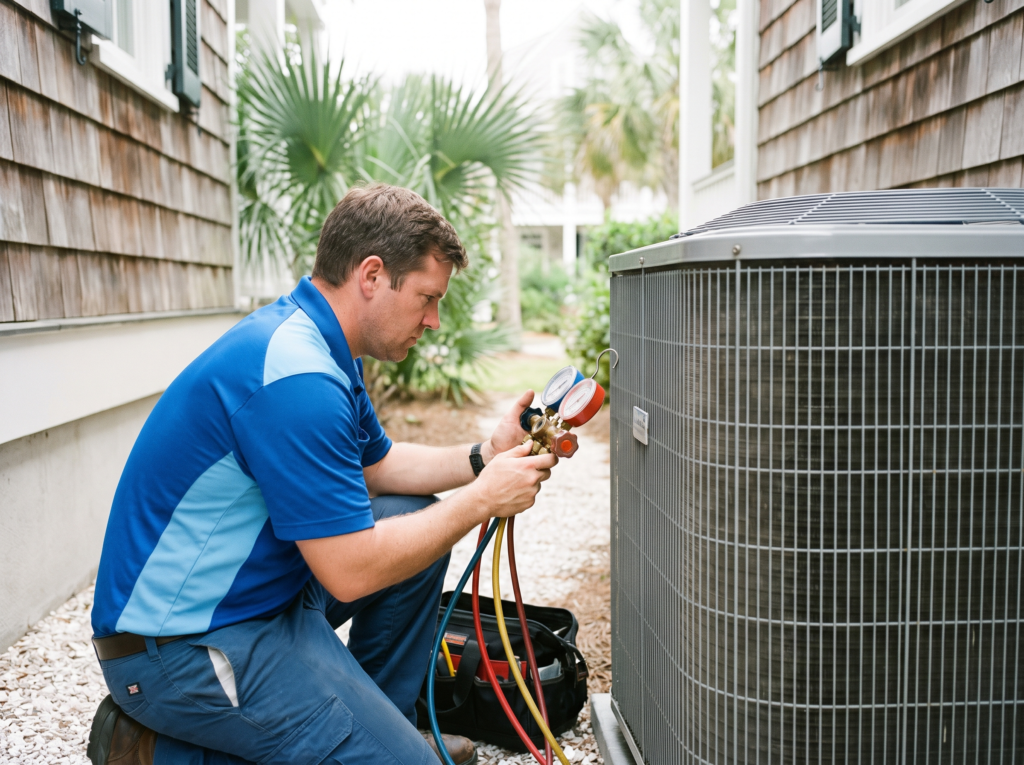
Your heat pump runs all winter, and in heating mode the outdoor coil is doing the harder job. It needs air.
- Pull leaves, pine straw and mulch back from all four sides. Two feet of clear space is the target.
- Check the drain holes in the base pan are not packed. Melted defrost water has to get out.
- Cut back whatever got planted around it to hide it over the summer.
- Check the pad is still level. Our soil shifts, and a unit tilted toward the house drains badly.
- Do not cover it. People wrap outdoor units for winter the way they would a grill. A heat pump runs in winter; covering it is harmful, and a cover also makes an excellent home for rodents who will chew the wiring.
If you are within a few miles of the water, rinse the coil gently with a hose — power off at the disconnect, spray from the outside in, never a pressure washer. Salt aerosol does real damage to those fins, and a corroded coil frosts sooner and clears slower.
3. Test it on a mild day
This is the step everybody skips and it is the most valuable one on the list. Pick a cool morning in the next two weeks, set the thermostat to HEAT and the setpoint about five degrees above the room, and let it run for twenty minutes.
You are listening and feeling for:
- Does the outdoor unit start? Does the indoor blower start?
- Is the supply air warmer than the return air? Roughly 20°F to 30°F warmer is what you want.
- Any new noise — grinding, screeching, rattling, a hard electrical hum?
- A burning smell that does not clear within ten or fifteen minutes? A short burst of dusty smell on the first run of the season is normal. Anything beyond that is not, and we covered what those smells mean separately.
- Does it reach setpoint and shut off cleanly?
Finding out now that nothing happens when you call for heat is a completely different experience from finding out at 6am on the coldest morning of the year.
4. Check the thermostat
- Fresh batteries if it takes them.
- Mode on HEAT, not EM HEAT. Emergency heat runs your expensive backup strips alone and nothing turns it off but you.
- Fan on AUTO, not ON.
- Review the schedule. Deep overnight setbacks that work with a furnace backfire with a heat pump — recovering a large gap in the morning is what triggers the backup strips. Two or three degrees is plenty.
5. Walk the registers
Open every supply register, including the rooms you do not use. Closing vents does not save money on a residential system; it raises static pressure and makes everything worse. Then check nothing is sitting on a return grille — a sofa moved for summer, a rug, a stack of boxes in the hall.
6. Look at what you can see of the ducts
If you have a crawlspace you can get into or an accessible attic, take a torch and look. You are checking for flex duct that has come off a boot, insulation that has been torn open, a run that is crushed or kinked, or obvious daylight at a joint. Those are common and they are expensive to live with — the heat you are paying for ends up in the crawlspace. Anything you find is ductwork repair work, and it is worth doing before the season rather than after.
7. Clear the condensate drain
Heat pumps produce condensate in heating mode too, from defrost melt. A drain line that has spent the summer growing biofilm will back up. If you have an accessible cleanout, a cup of warm water flushed through is enough. If the float switch has tripped, the system will not run at all, which is a very confusing fault to meet in December.
What needs a technician
The rest of the list requires meters, gauges and combustion instruments. Done properly, a heating maintenance visit covers:
- Electrical. Capacitor capacitance against the rated value, contactor condition, amp draw on the compressor and the blower, tightness of every lug. Capacitors and contactors are the two parts most likely to strand you, and both are measurable before they fail.
- Refrigerant charge and capacity. A system low on charge heats poorly and leans on backup strips. Low charge means a leak, and the leak gets found rather than topped up.
- Defrost operation. The board, the coil sensor, the reversing valve. A defrost fault is one of the most expensive things that can happen to a winter bill, because the system runs cooling outdoors while the strips run indoors.
- Backup heat strips. Amp draw on each element, sequencer or relay operation, and confirmation that they stage correctly and actually turn off.
- Airflow and static pressure. Measured, not guessed. High static pressure is the hidden cause behind a great deal of poor performance.
- Blower wheel and coil condition. Both get dirty, both quietly reduce capacity.
- Thermostat configuration. That it is actually set up as a heat pump thermostat with a sensible balance point. A frequent miss after a DIY replacement.
- Combustion, if you have gas. Heat exchanger inspection, flame and burner condition, flue draft, and a carbon monoxide check. This is not optional and it is not a DIY item. Any crack in a heat exchanger means the furnace comes out, and that is a furnace repair conversation with a safety answer rather than a cost one.
Book it before the rush, not during it
We are candid about this: the week the first real cold front comes through, the phone does not stop. We are not a 24-hour emergency service, so there is a limit to how many people we can reach in a day, and the honest thing is to say that the people who booked in October get seen in October.
If you would rather not have to remember, the Harbor Club plan schedules the heating and cooling visits for you, keeps the records, and puts members ahead of the queue when something breaks anyway.
Start this weekend
Filter, clear the outdoor unit, run the heat for twenty minutes. If all three are fine, you have bought yourself a quiet winter. If any of them are not, you have found out in October with time to deal with it.
Call or text 843-609-5740 or book a pre-season visit online. We cover Ladson, Summerville, Charleston, Mount Pleasant, Goose Creek and the rest of the Lowcountry.